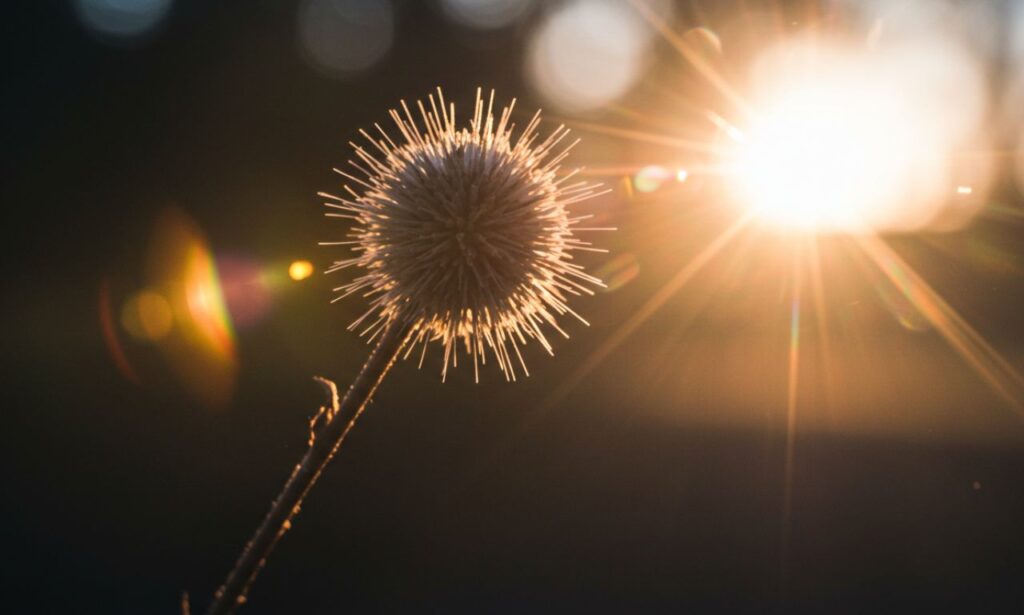
Photography is as much about creativity as it is about technique. One of the most visually striking effects used by photographers and editors today is photeeq lens flare, a digital tool that replicates the natural light flares created by camera lenses. Whether you are a beginner or a professional editor, mastering lens flare can bring cinematic energy and drama to your images.
In this article, we’ll explore what photeeq is, how it works, its benefits, common mistakes, and practical tips for using it effectively to enhance your photography projects.
Photeeq Lens Flare and Its Purpose
Photeeq is a feature designed to simulate the natural glare or scattering of light that occurs when a strong light source hits a camera lens. Traditionally, lens flares were considered flaws because they could obscure subjects or create unwanted streaks of light. However, in modern photography and cinematography, lens flares are celebrated for the mood and depth they add to an image.
Photeeq allows photographers and editors to add this effect digitally, giving them control over intensity, color, size, and direction. This means you no longer have to rely on perfect natural lighting conditions to achieve a cinematic effect.
Photeeq Lens Flare and Its Key Features
One of the reasons photeeq is popular among editors is its versatility. Here are the standout features that make it a favorite:
Photeeq Lens Flare Offers Customization
You can adjust the flare angle, opacity, and brightness to match the light direction in your image. This ensures the effect looks natural rather than forced.
Photeeq Lens Flare Provides Realistic Effects
Unlike generic overlays, photeeq simulates how light actually interacts with lenses, producing subtle halo effects, light streaks, and bokeh that look authentic.
Photeeq Lens Flare is Easy to Apply
The interface is user-friendly and integrates smoothly with photo editing software. With just a few clicks, you can experiment with different styles until you get the look you want.
Photeeq Lens Flare in Professional Photography
Professional photographers use photeeq to add character and emotion to images. Here are some of its most common applications:
-
Wedding Photography – Adds warmth and romance to outdoor portraits.
-
Landscape Photography – Enhances sunrise or sunset shots with dramatic light beams.
-
Fashion Shoots – Creates a dreamy, editorial vibe for high-end campaigns.
-
Product Photography – Highlights reflective surfaces for a more dynamic presentation.
By carefully placing the flare, editors can guide the viewer’s eye to the main subject of the photo.
Photeeq Lens Flare and Cinematic Storytelling
Cinematic storytelling often relies on visual cues to evoke emotion. Photeeq can transform a simple image into a narrative-driven frame. For instance, a subtle flare across a streetlight in an urban night scene can suggest mystery, nostalgia, or romance.
When paired with proper color grading, lens flares can make photos feel like they belong on thebig screen, which is why many filmmakers also use photeeq-inspired tools during post-production.
Benefits of Using Photeeq Lens Flare
There are several advantages to using photeeq as part of your editing workflow:
-
Control Over Lighting – Perfect for times when natural flares are unavailable.
-
Time-Saving – No need to wait for golden hour to get the perfect shot.
-
Non-Destructive Editing – You can remove or adjust the effect without damaging the original image.
-
Creative Flexibility – Experiment with colors, sizes, and intensities to fit different moods.
Common Mistakes When Using Photeeq Lens Flare
While photeeq is powerful, it’s easy to overuse it and end up with an unrealistic or distracting image. Here are mistakes to avoid:
-
Excessive Brightness – Too much flare can wash out details in the photo.
-
Incorrect Placement – Misaligned flares can make the lighting look fake.
-
Cluttered Composition – Multiple overlapping flares can overwhelm the subject.
-
Ignoring Context – Adding lens flare to indoor or nighttime photos without a strong light source can break realism.
Photeeq Lens Flare Tips for Natural Results
To achieve professional-quality results, follow these best practices:
-
Match the Light Source – Align the flare with the brightest point in your image.
-
Adjust Intensity Gradually – Start with a subtle effect and increase it slowly.
-
Use Color Harmony – Match the flare’s color temperature with the photo’s overall tone.
-
Consider Composition – Place the flare where it enhances, not distracts, from the subject.
-
Test Multiple Versions – Compare different variations to find the one that feels most natural.
Photeeq Lens Flare for Social Media Creators
Social media creators on Instagram, TikTok, and Pinterest use lens flare effects to make their posts stand out. Photeeq lens can help you craft a signature style, whether you want a dreamy aesthetic for lifestyle photos or a high-contrast, dramatic vibe for fashion content.
Since photeeq’s effects are customizable, influencers can create a consistent visual identity across all their content
The Future of Photeeq Lens Flare Technology
As AI-powered editing tools continue to evolve, photeeq is expected to become even more intelligent. Future versions may offer automatic light detection, real-time previews, and adaptive flares that respond to changes in composition.
This means photographers will spend less time manually adjusting settings and more time focusing on creative storytelling.
Final Thoughts on Photeeq Lens Flare
Photeeq is more than just a digital trick — it’s a tool for storytelling and emotional impact. When used thoughtfully, it adds depth, drama, and realism to photos, transforming ordinary shots into memorable works of art.
Whether you’re a professional photographer, a content creator, or simply someone who loves editing pictures for fun, photeeq can help you elevate your visuals and give them a cinematic touch.
Experiment with its settings, learn to balance subtlety and drama, and you’ll soon master this powerful effect.